Installation instructions
Installation instructions
Select your product to view installation steps, photos, and important care information. Select it again to close the guide.
LiDAR Mount
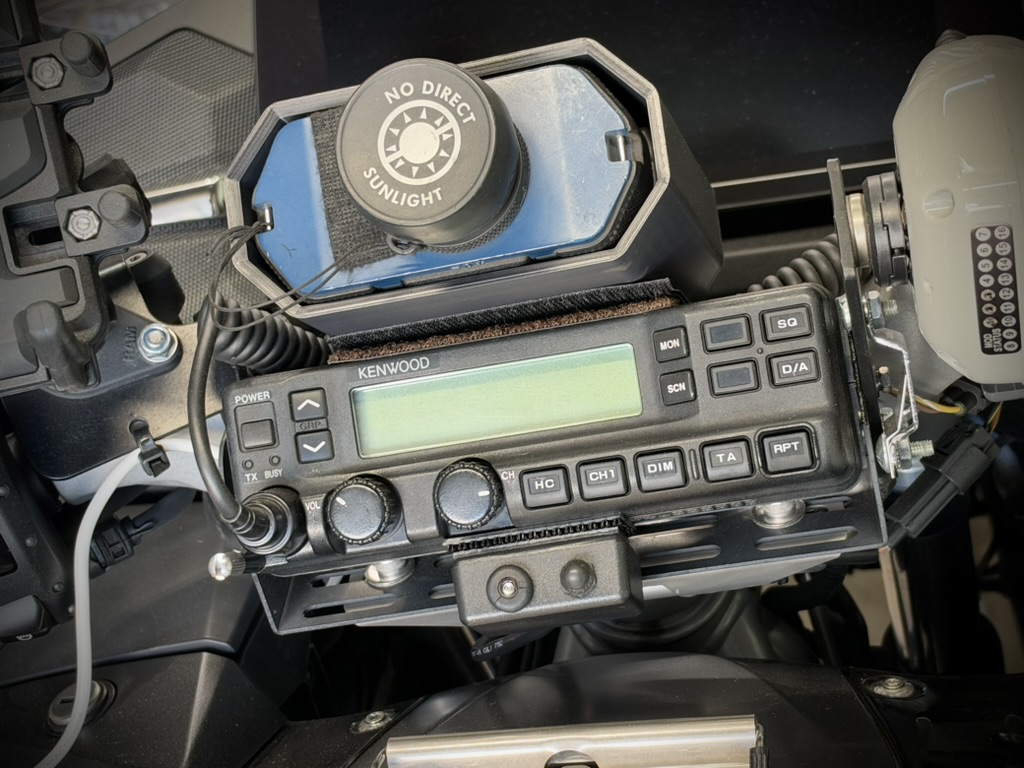
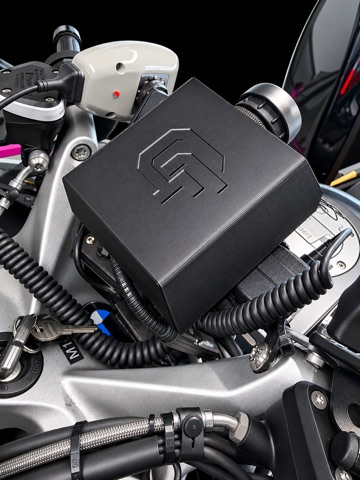
Designed for the LTI 20/20 TruSpeed S LiDAR. Follow these steps to install your mount on top of the Kenwood radio head.
Before installation: If your motorcycle has a Bluetooth module mounted on top of the Kenwood radio, relocate the module to the bottom of the radio head before installing the LiDAR Mount.
- Detach the Bluetooth module. Remove the hook-and-loop fastener holding the Bluetooth module to the top of the Kenwood radio.
- Create enough wire slack, if needed. If the module’s wire does not reach the bottom of the radio, carefully cut the zip tie securing the wire to provide additional slack. Do not cut or damage the wire.
- Relocate the module. Reattach the Bluetooth module to the bottom of the radio head using its existing hook-and-loop fastener.
- Clean the mounting surface. Use the included isopropyl alcohol wipe to clean the top of the radio head. Allow the surface to dry completely before applying the hook-and-loop strip.
- Install the mounting strip. Attach the supplied hook-and-loop strip to the top of the Kenwood radio.
- Position the LiDAR Mount. Place the mount on the mounting strip with the small water drainage opening facing downward, preferably with the back of the mount resting against the map light. Press it firmly into position.
- Add the secondary retention. Install the included zip tie around the map light as a secondary security mount for the LiDAR Mount.
Before riding: Confirm that the radio, Bluetooth module, LiDAR Mount, wiring, and secondary zip tie are secure.
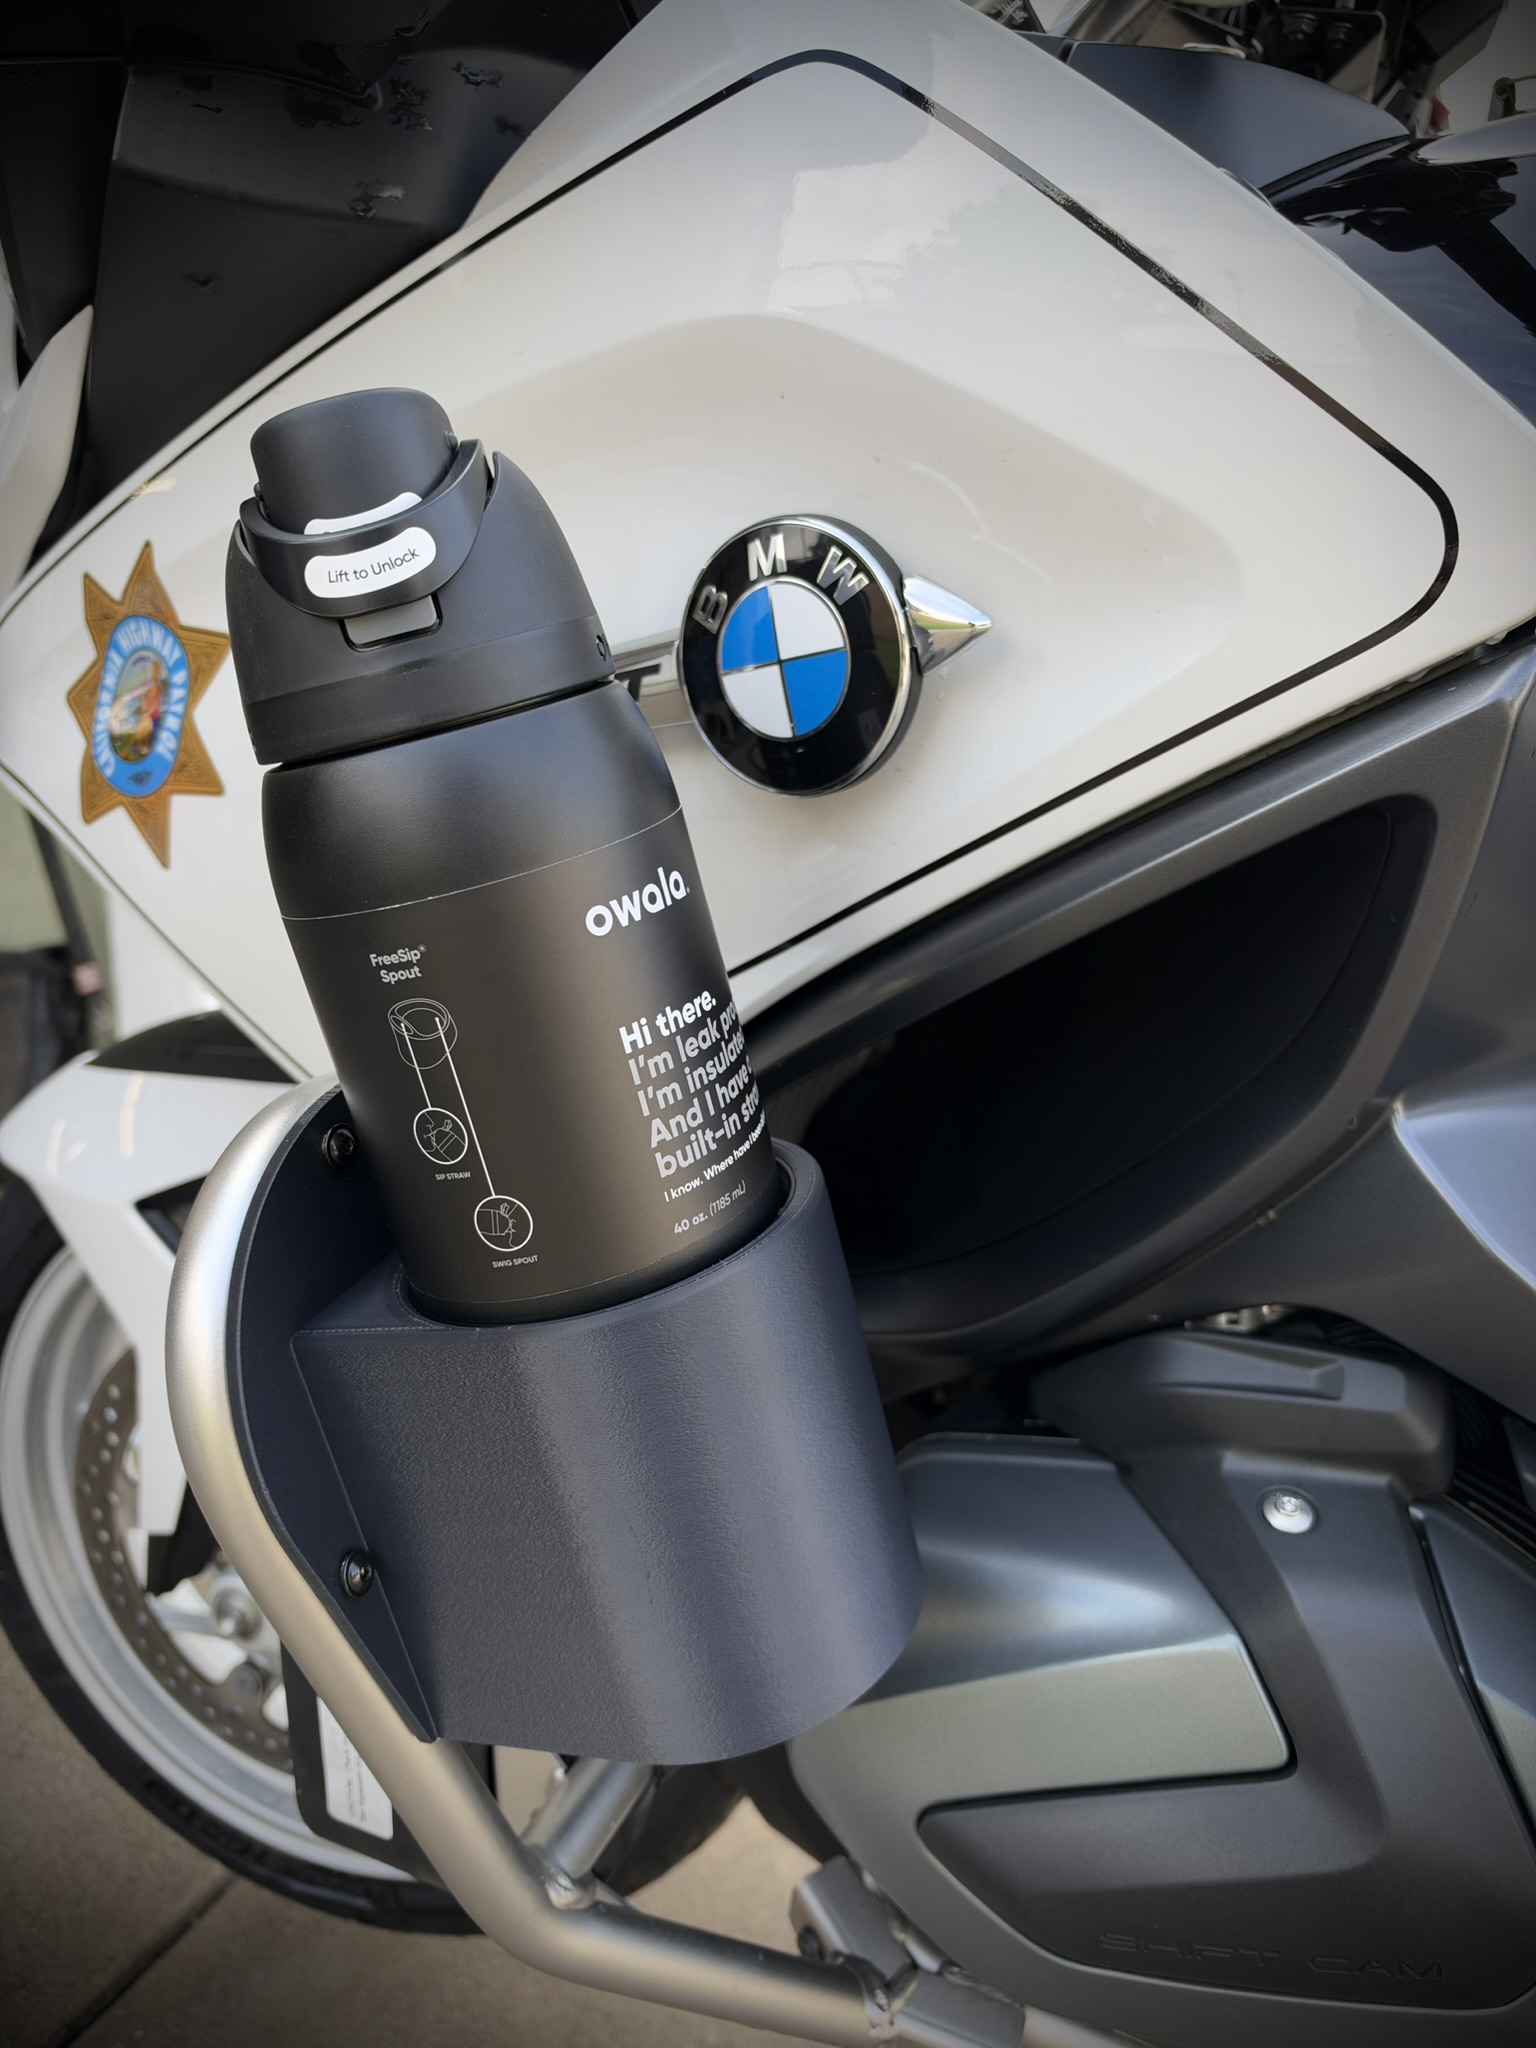
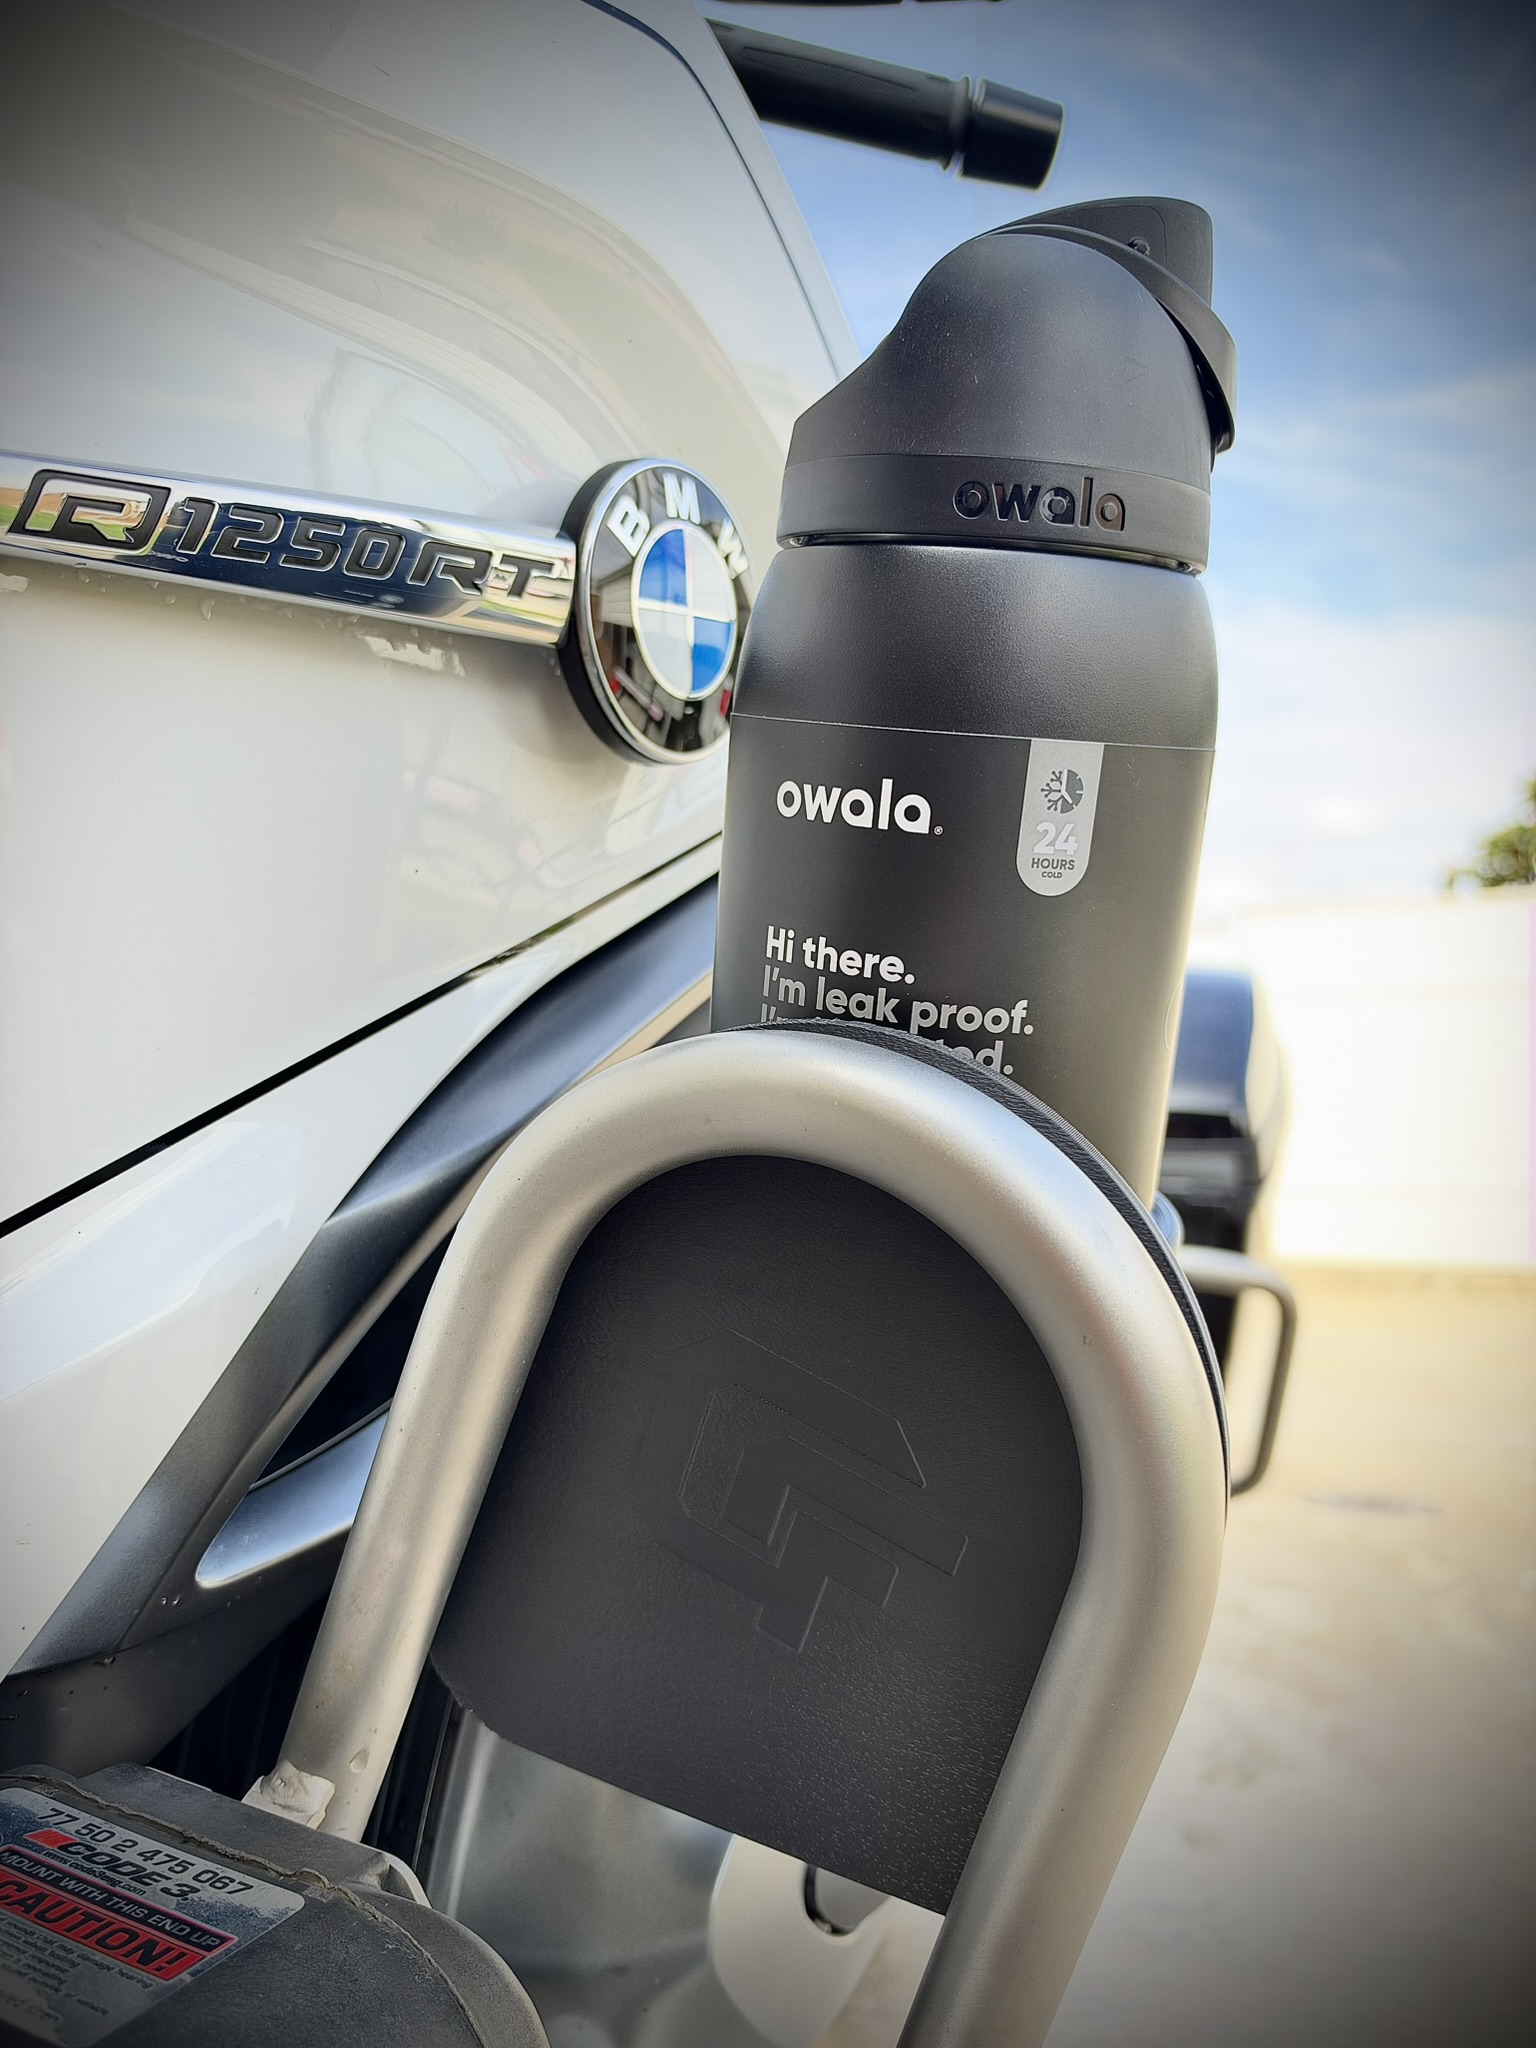
Cup Holder
For the BMW R 1250 RT-P. Mounts to the left-side crash bar using the three included stainless steel bolts and lock washers.
Fitment note: The mounting area on the left-side crash bar must be clear. It will not fit if other equipment or accessories occupy the mounting area.
- Position the Cup Holder. Align the three mounting holes on the Cup Holder with the mounting points on the motorcycle’s left-side crash bar.
- Install the included hardware. Place a provided stainless steel lock washer on each of the three included stainless steel bolts, then use the bolts to secure the Cup Holder. The lock washers help prevent the bolts from loosening over time. Start each bolt by hand before tightening it.
- Secure the bolts. Tighten all three mounting bolts securely with the provided lock washers in place.
Before riding: Confirm that the Cup Holder and all three mounting bolts are secure.